Introduction: Thermocouples are widely used temperature sensors in various industries, including manufacturing, HVAC systems, and scientific research. They operate on the principle of the Seebeck effect, where a voltage is generated when two dissimilar metals are joined at their ends, forming a temperature gradient. In this blog post, we will guide you through the process of manufacturing a thermocouple.
Step 1: Select Thermocouple Type: There are various types of thermocouples available, each with different materials and temperature ranges. Choose the thermocouple type that suits your application requirements. Common types include Type K (chromel-alumel), Type J (iron-constantan), and Type T (copper-constantan).
Step 2: Choose Wire Materials: Thermocouples consist of two wires made of different metals. Select the appropriate wire materials based on the selected thermocouple type. Ensure that the chosen materials can withstand the desired temperature range and provide accurate measurements.
Step 3: Prepare the Wires: Clean the wires using a suitable solvent to remove any contaminants or oxide layers. Next, cut the wires to the desired length, ensuring they are of equal lengths for accurate temperature measurements.
Step 4: Weld the Wires: To create the thermocouple junction, the wires need to be welded together. There are different welding methods available, such as resistance welding, laser welding, or even soldering. The welding method used depends on the thermocouple wire materials and their compatibility.
Step 5: Insulate the Junction: After welding the wires, you need to insulate the junction to ensure accurate temperature readings. Various insulation methods can be used, such as ceramic beads, ceramic powder, or glass sealing. The insulation material should be compatible with the temperature range and environmental conditions of your application.
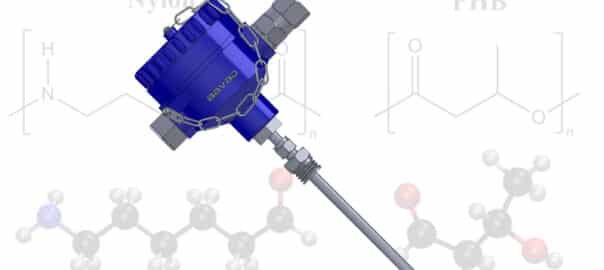
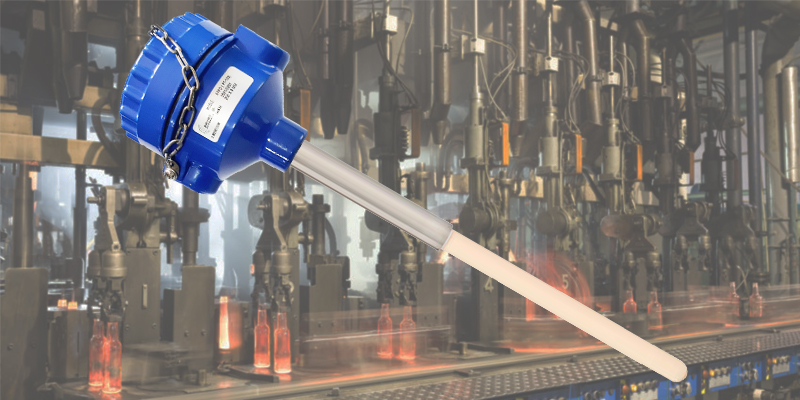
Step 6: Form the Thermocouple Probe: To protect the wires and provide mechanical stability, you can encase the thermocouple junction in a probe. The probe material should be selected based on the specific application requirements. Common materials include stainless steel, Inconel, or ceramic.
Step 7: Calibrate the Thermocouple: Once the manufacturing process is complete, it is essential to calibrate the thermocouple to ensure accurate temperature measurements. This involves comparing the readings of the thermocouple with a reference temperature source. Calibration can be done using specialized equipment or by comparing the readings with a known temperature reference.
Step 8: Testing and Quality Assurance: Before finalizing the thermocouple for use, conduct rigorous testing to ensure its performance and reliability. Test the thermocouple across various temperature ranges and compare the readings with a calibrated reference thermometer. Additionally, perform quality checks to ensure proper insulation, mechanical strength, and durability.
Step 9: Wire Protection: To enhance the durability and longevity of the thermocouple wires, consider applying a protective coating or insulation along the length of the wires. This helps prevent damage from moisture, chemicals, or mechanical stress. Common methods include using heat-shrink tubing, ceramic or fiberglass insulation, or applying a protective coating such as Teflon.
Step 10: Connector Installation: If your thermocouple requires a connector for easy installation and removal, choose a suitable connector type based on your application. Common connector types include standard plug/socket connectors, miniature connectors, or specialized connectors for high-temperature or hazardous environments. Follow the manufacturer’s instructions to correctly install the connectors onto the thermocouple wires.
Step 11: Documentation and Labeling: It is crucial to properly document and label each manufactured thermocouple for traceability and identification purposes. Assign a unique serial number or identifier to each thermocouple and maintain a record of the manufacturing details, including thermocouple type, wire materials, calibration data, and any specific notes or specifications.
Step 12: Packaging and Shipping: Once the thermocouples are manufactured, properly package them to ensure protection during shipping and storage. Use appropriate packaging materials such as anti-static bags or foam inserts to prevent damage. Include any necessary documentation or instructions for the end-user, such as calibration certificates or handling guidelines.
Step 13: Ongoing Quality Control: Implement a quality control system to monitor the manufacturing process continuously. Regularly inspect the materials, welding techniques, insulation integrity, and calibration processes to identify any potential issues or deviations. This helps maintain consistent quality and ensures that the thermocouples meet the required standards.
Step 14: Compliance with Standards: Ensure that the manufactured thermocouples comply with relevant industry standards and regulations. These standards may include temperature accuracy, insulation resistance, response time, or specific requirements for certain applications or environments. Stay updated with the latest standards and make necessary adjustments to your manufacturing process accordingly.
Manufacturing a thermocouple involves careful selection of materials, proper welding techniques, insulation of the junction, and calibration to ensure accurate temperature measurements. Following the steps outlined in this guide will help you manufacture a thermocouple suitable for your specific application requirements. Remember to adhere to safety precautions and industry standards throughout the manufacturing process.